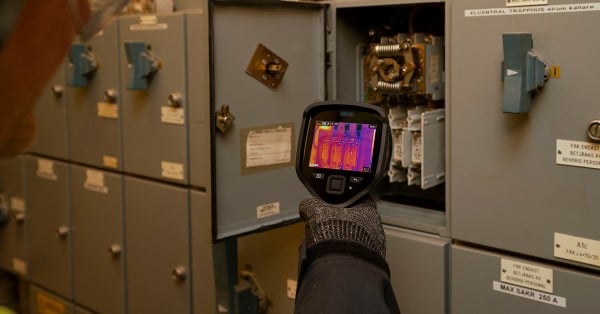
How do I use the FLIR ETS320 with FLIR Tools?
An example procedure is given below for examing a PCB with the FLIR ETS320 and FLIR Tools:
- Set up the camera following the included quick start guide.
- Install FLIR Tools on your computer.
- Connect the ETS320 to FLIR Tools (Instruments tab > Connect > Signal).
- Power your PCB.
- Add a max./min. area over the area of interest in FLIR Tools.
- Change the palette if you want to modify the contrast.
- Click auto-adjust.
- Change the emissivity (in FLIR Tools) to 0.9 for plastic (note that metal will be shown as colder than it is). If you're looking at metal, the emissivity should be 0.15 (for more accurate emissivity settings, refer to the attached PDF).
- The reflected temperature (in FLIR Tools) should be room temperature, about 20–23°C.
File Attachment(s)
T560460_A-en-US Technical publication 54 Emissivity map correction.pdf (104.33 KB)

